Safety Starts at the Top: Anchor Points Make Dome Maintenance Easy
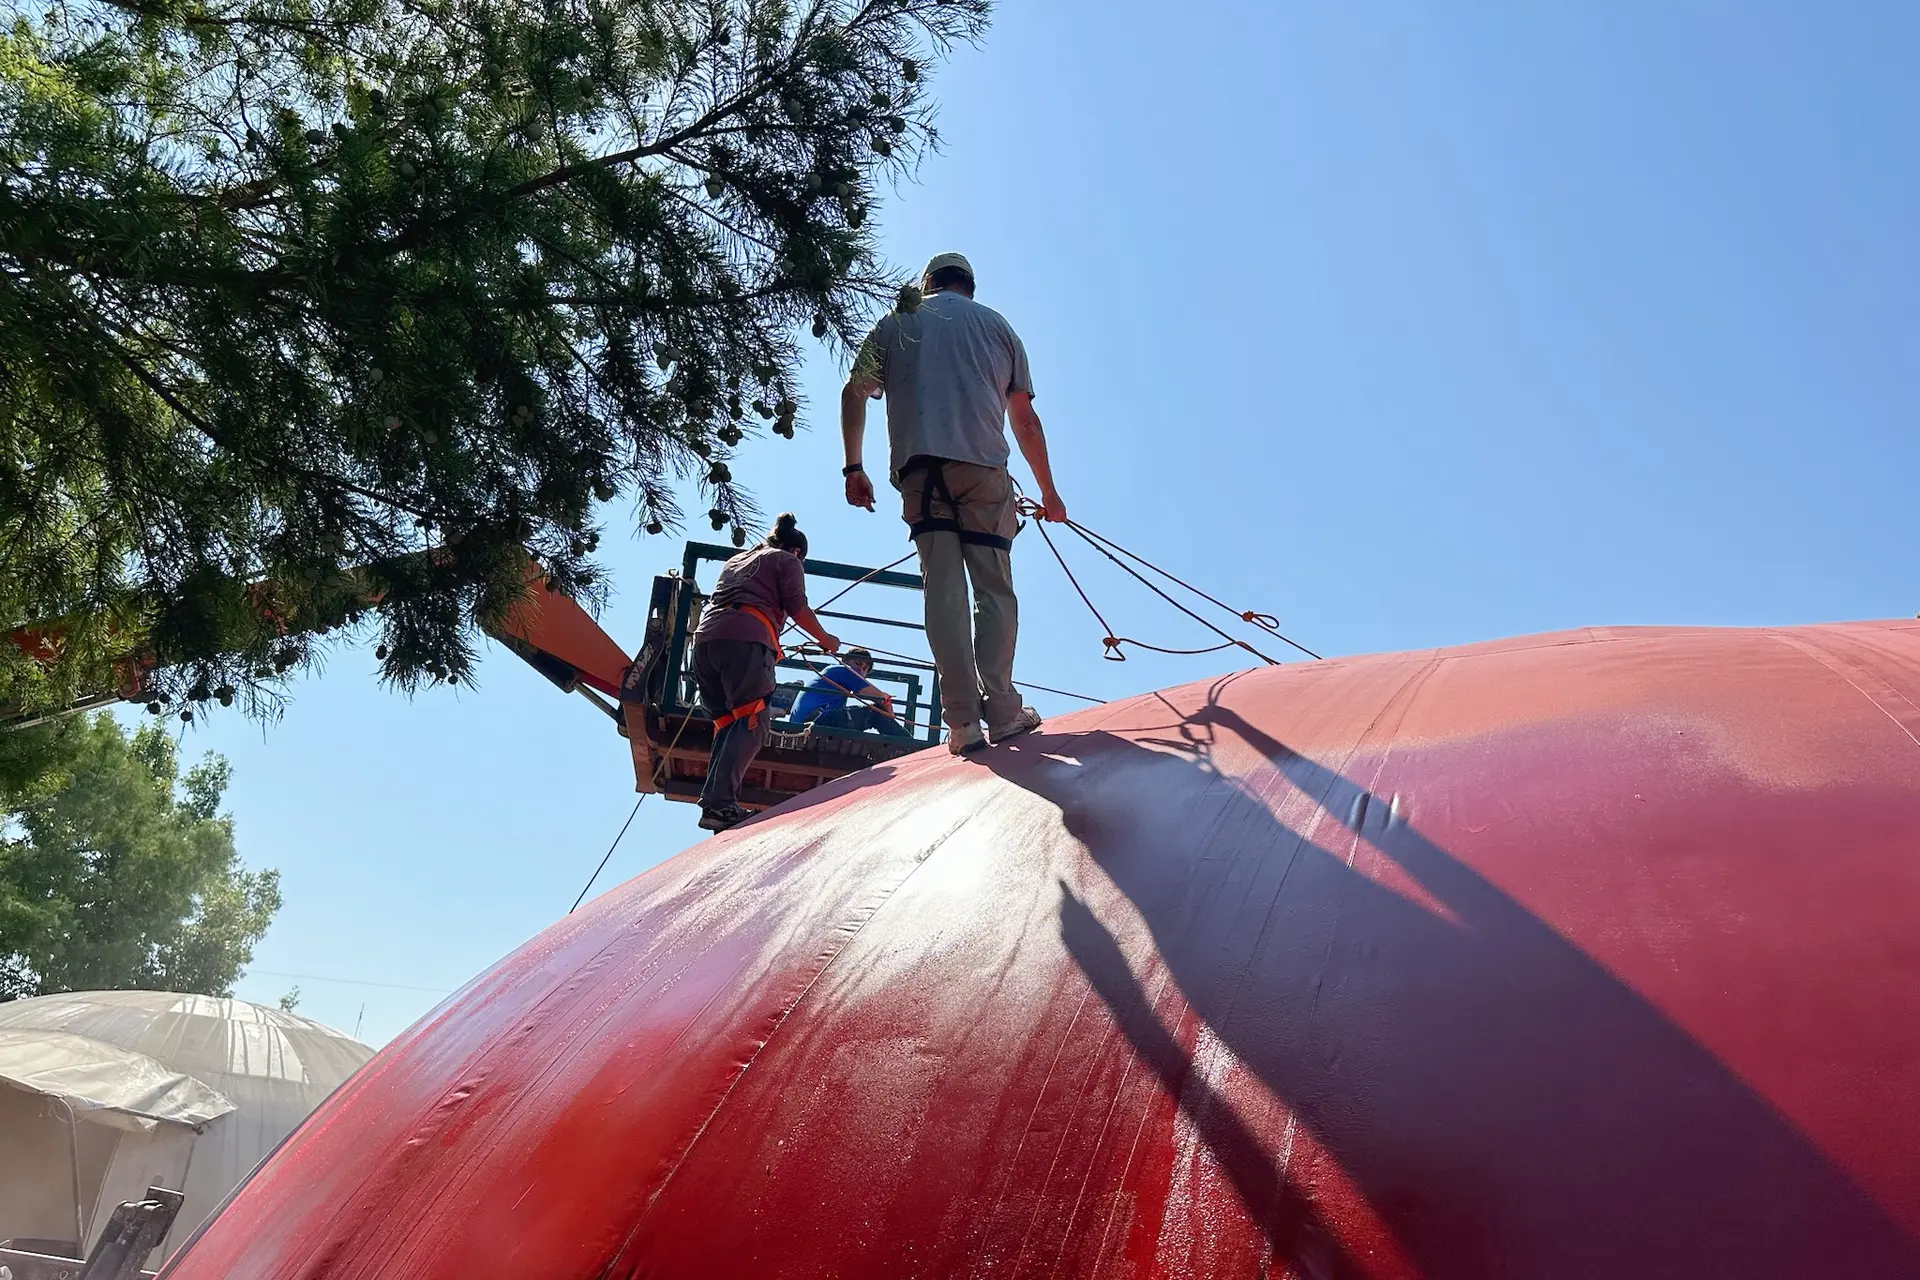
Mike South, President of Monolithic, and his daughter, are wearing safety harnesses tied to a newly installed stainless steel anchor point. While retrofitting this dome at the Monolithic Dome Research Park, their harnesses were tied to the crane seen in the background operated by Mike’s son.
After nearly 50 years of building Monolithic Domes, we know even the most durable structures need a little upkeep. The single-ply membrane that protects the dome exterior takes a beating from sun and weather and typically needs recoating every 5–10 years. When it’s time for that kind of maintenance, the most important thing is making sure the crew can work safely.
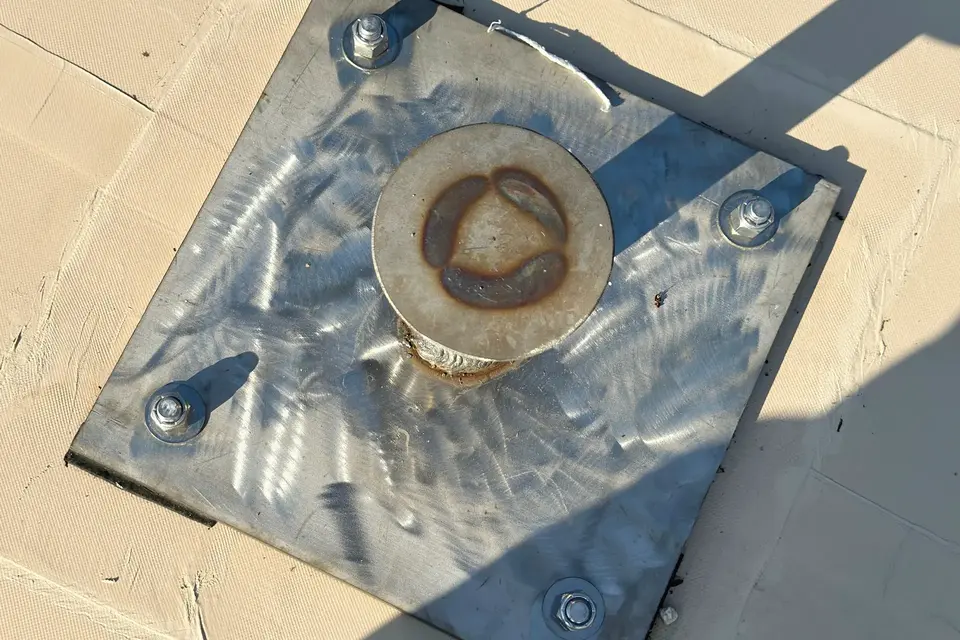
This anchor point was installed during dome construction. In this setup, it sits right on top of the dome, with extra concrete sprayed beneath it for added strength and stability.
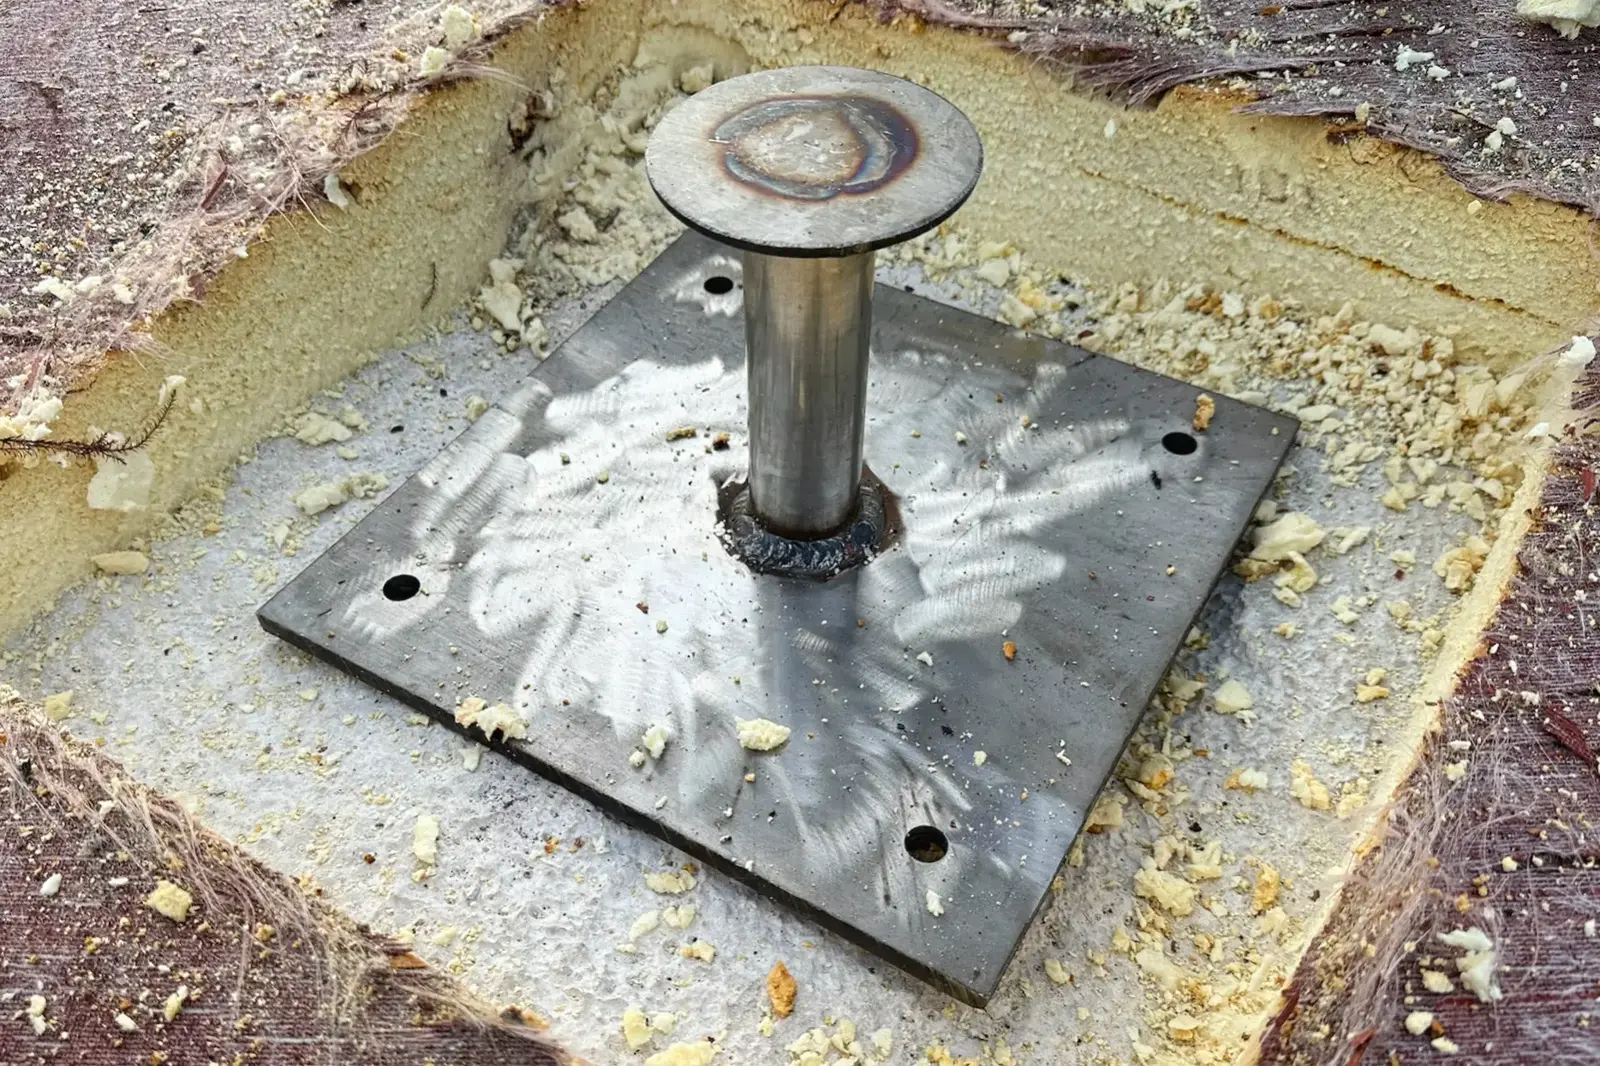
That’s why we designed a stainless steel anchor point made specifically for Monolithic Domes. It bolts directly into the structural concrete at the dome’s apex, providing a solid, engineered attachment for a safety harness. For new construction, we can embed the anchor during the build so it’s ready to use from day one. We include it upon request, and we’ve also developed a retrofit kit for existing domes.
Retrofitting is straightforward: remove a small square of foam and Airform, expose the concrete, drill carefully, install the anchor, and then patch and reseal the area.
Anchor Point kits are available now on our website and come with four wedge anchor bolts and nuts as well as a 36-inch diameter piece of Airform fabric. Whether you’re planning ahead or upgrading an older dome, adding a safe, permanent roof access point is a smart investment in long-term maintenance.
Step by Step Guide to Retrofitting Your Dome With an Anchor Point
Mike South recently installed an anchor point on an older dome that needs to be recoated at our research park. Because anchor points make the job of recoating a dome so much safer and easier, we retrofit them to most domes before digging into a coating or renovation job. Installing them is fairly straightforward. Call us if you have any questions or get stuck while installing yours.
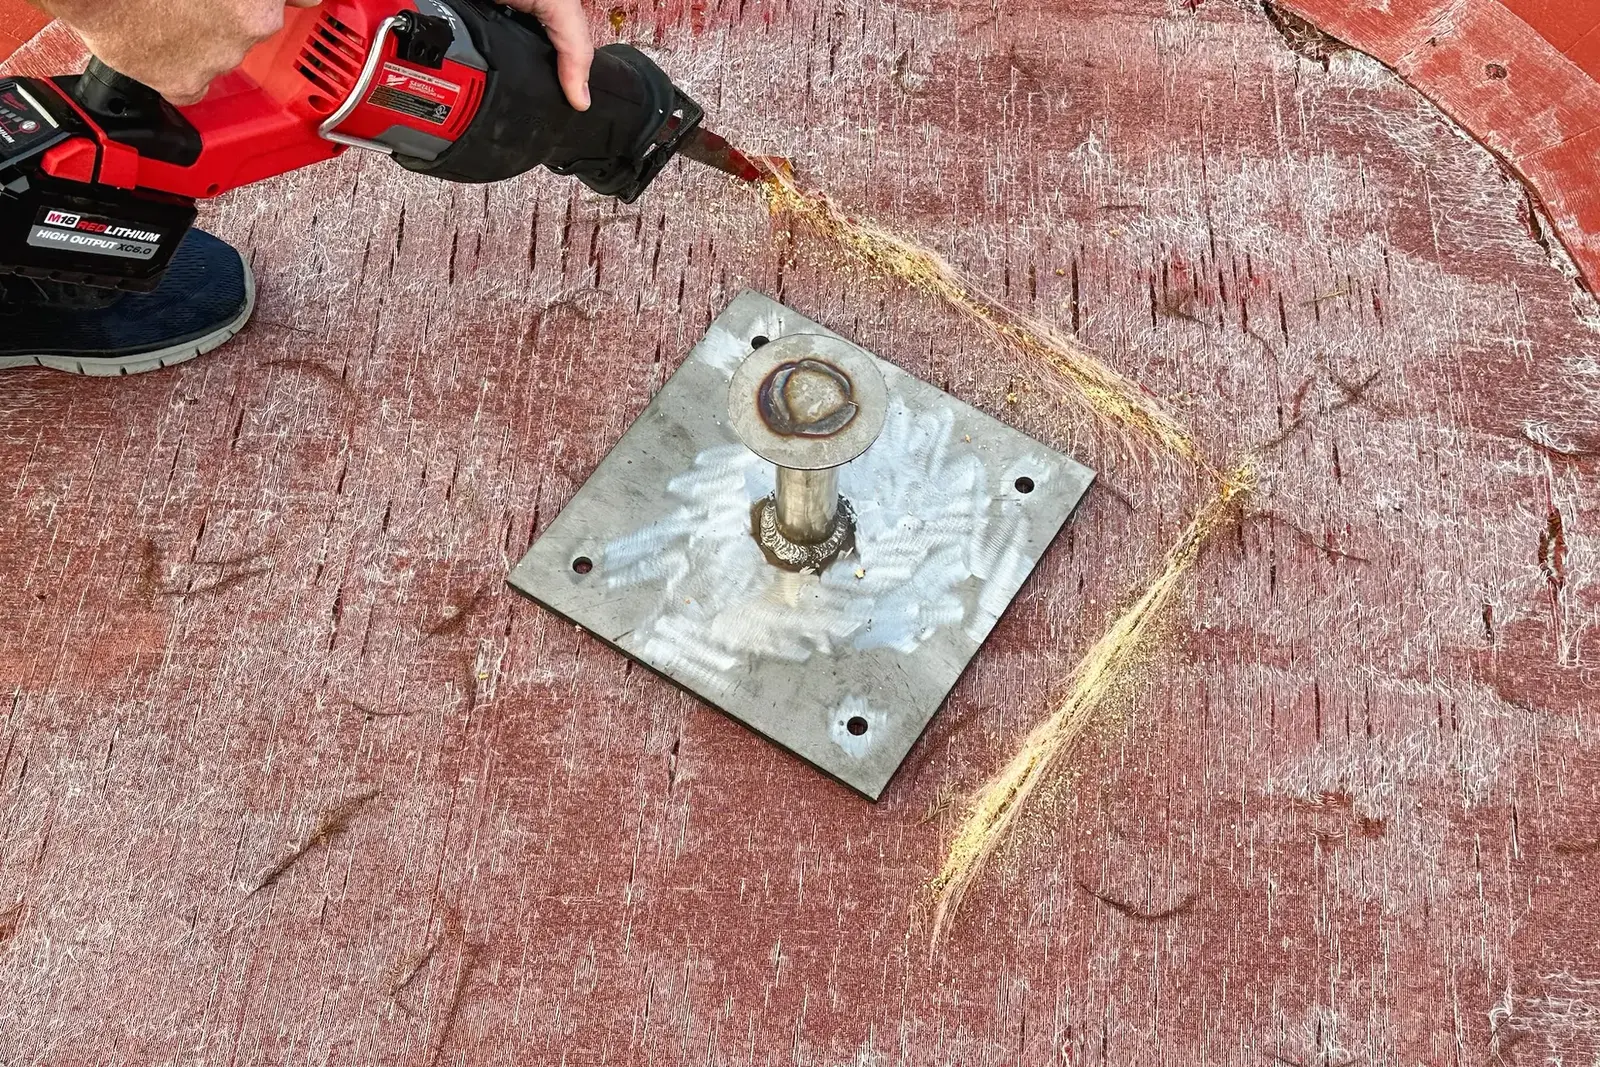
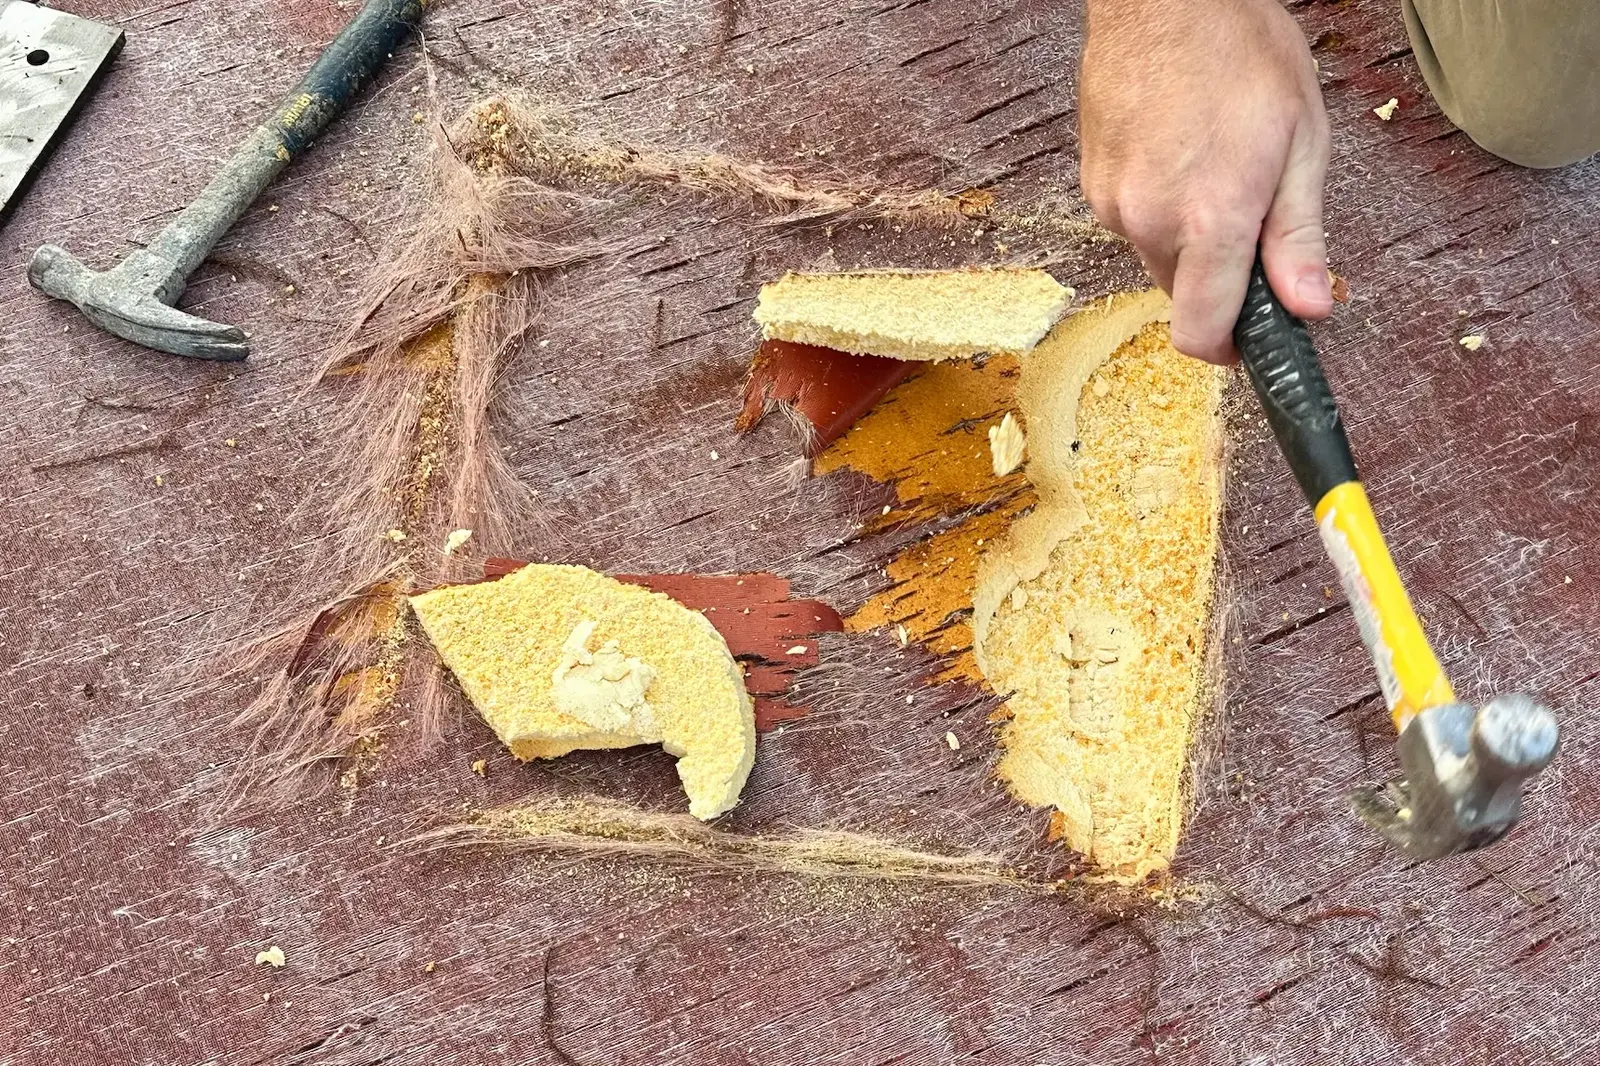
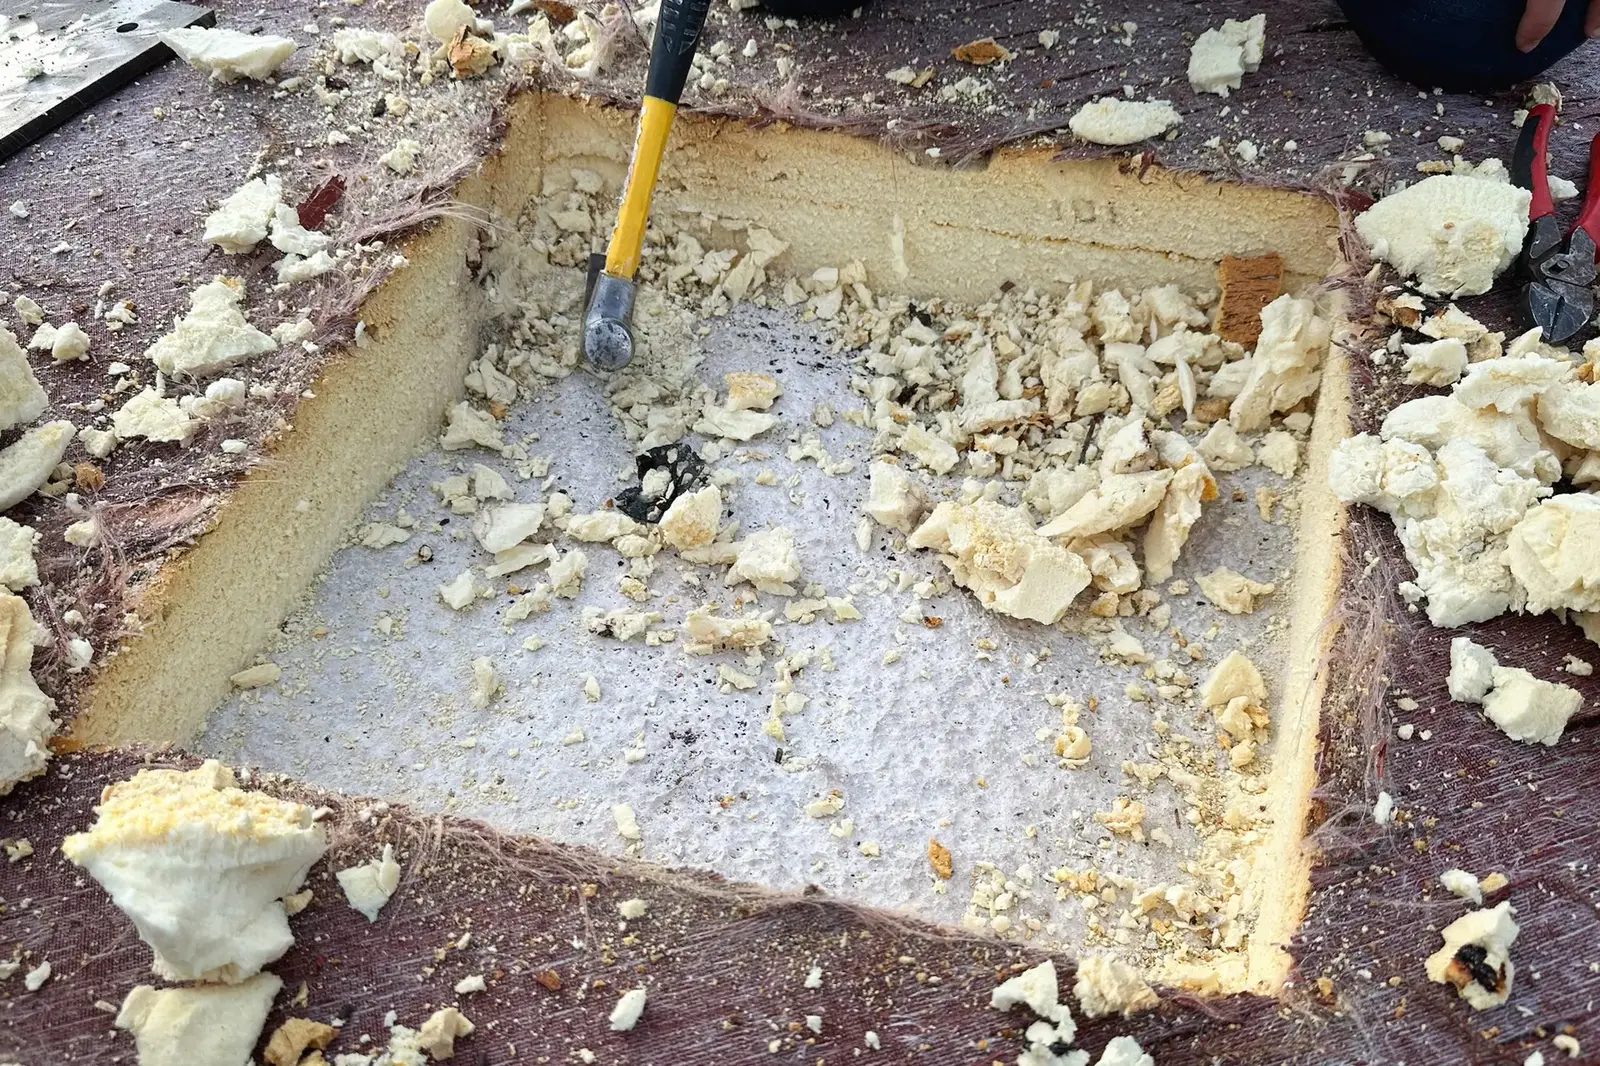
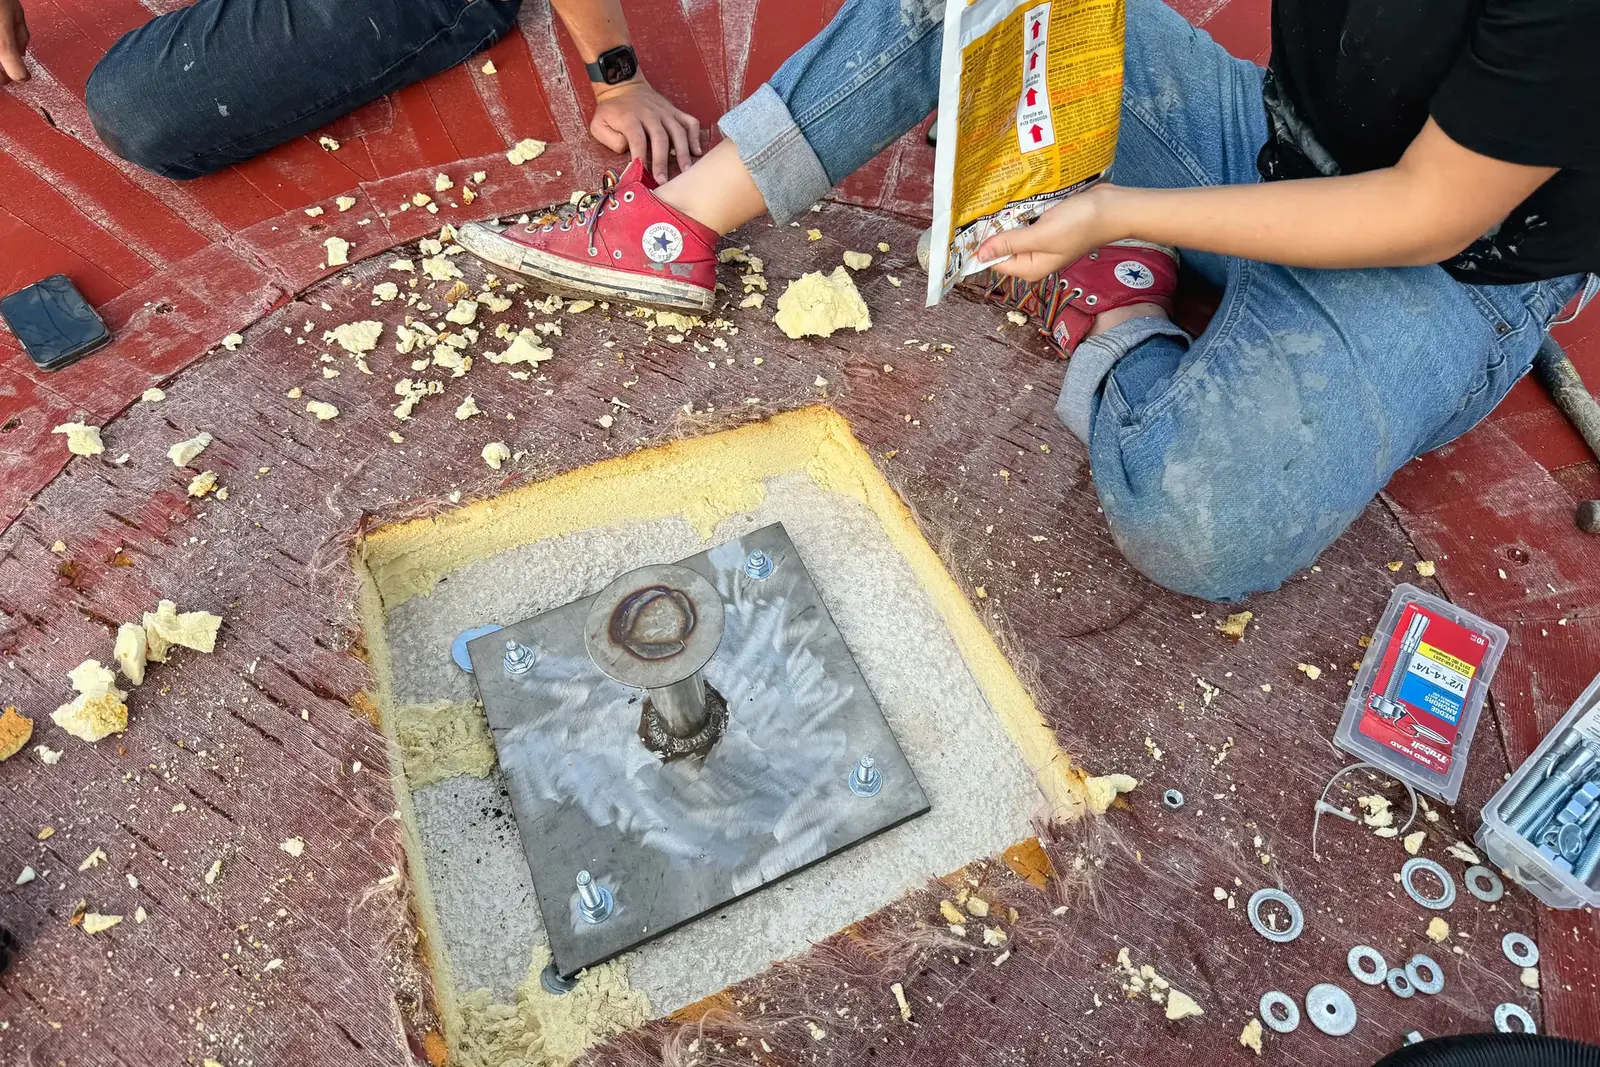
[Left] Step 1: Use a utility knife or reciprocating saw to cut a square opening in the Airform and foam. Make sure the opening is bigger than the anchor’s base so you have room to work. [Center] Step 2: Use a claw hammer to break up and remove the foam inside the cutout. It doesn’t take much—just a little elbow grease to clear the area down to the concrete. [Right] Step 3: Once the foam is fully removed, the structural concrete will be exposed. Take a moment to clear away any remaining bits of foam so you have a clean surface for the next step.
[Left] Step 4: Set the anchor base plate in position and get ready to drill the holes for the ½″ wedge anchors. Use the plate as your guide, and be extra careful not to drill all the way through the dome. WARNING: Hammer drills can easily blow out the last inch or more of concrete. Take it slow, and control your depth. If you do accidentally go through, it’s not a disaster—but you’ll need to patch the interior hole. [Right] Step 5: Install the ½″ wedge anchors into the drilled holes. Tap them in with a hammer until fully seated, then tighten the nuts to secure the base plate firmly to the concrete. There may be times when using washers under the base plate to level the anchor point before tightening the nuts makes sense. Shotcrete isn’t always perfectly level.
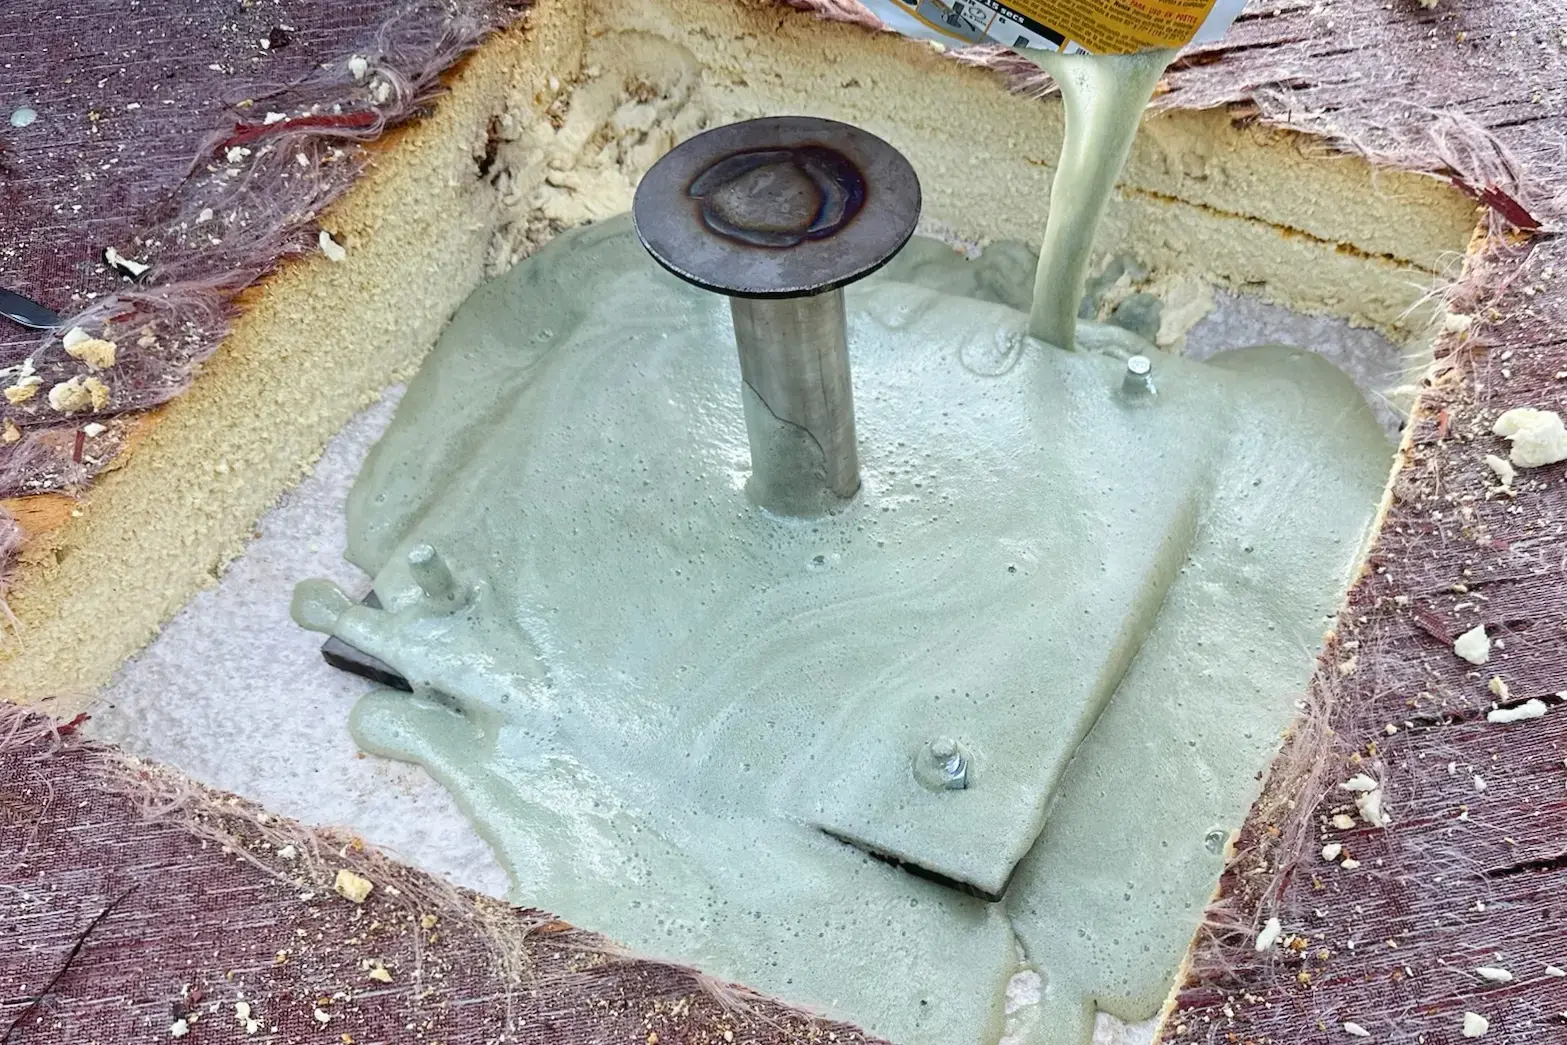
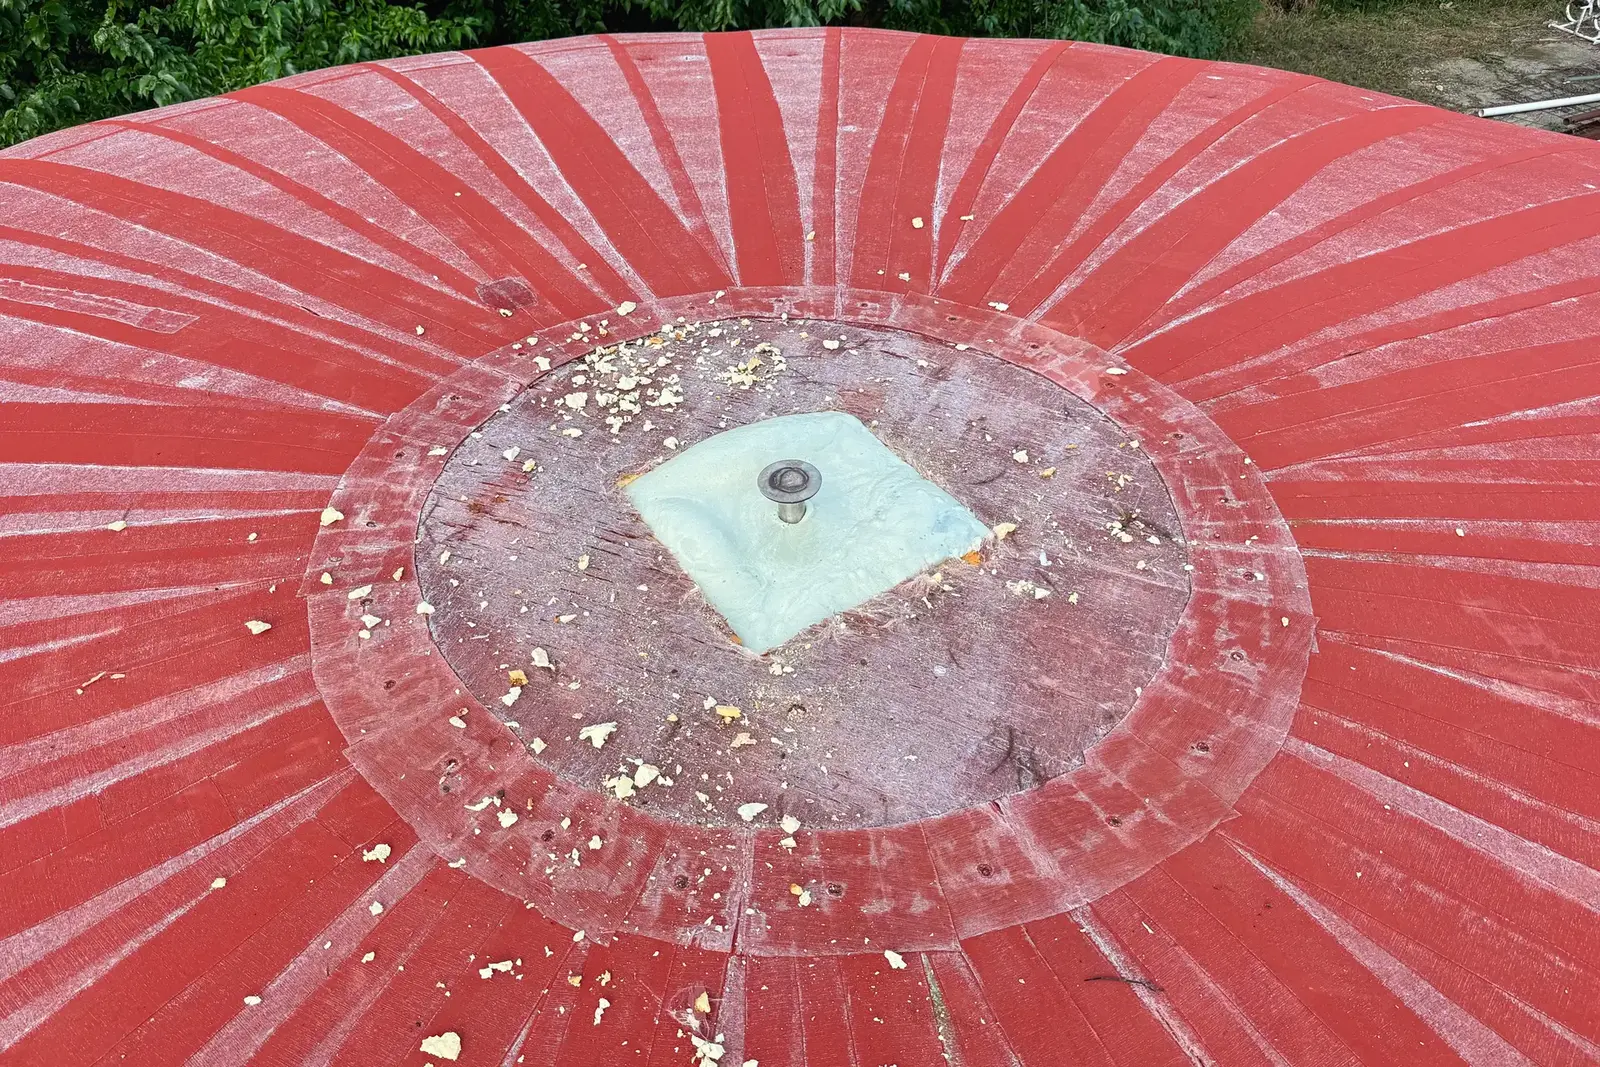
[Left] Step 6: With the anchor secured, it’s time to replace the foam. We recommend using fence post foam—it comes in a two-part bag that you mix by hand. Once mixed, pour the expanding foam into the opening around the anchor. It will fill the gap and harden in place. Allow about an hour for the foam to fully expand and cure before moving on. [Right] Step 7: After the foam has fully cured, return to the project and clean up the area. Trim any excess foam and smooth out the transition between the patched square and the surrounding dome surface. This will help ensure a good seal when you patch the membrane.
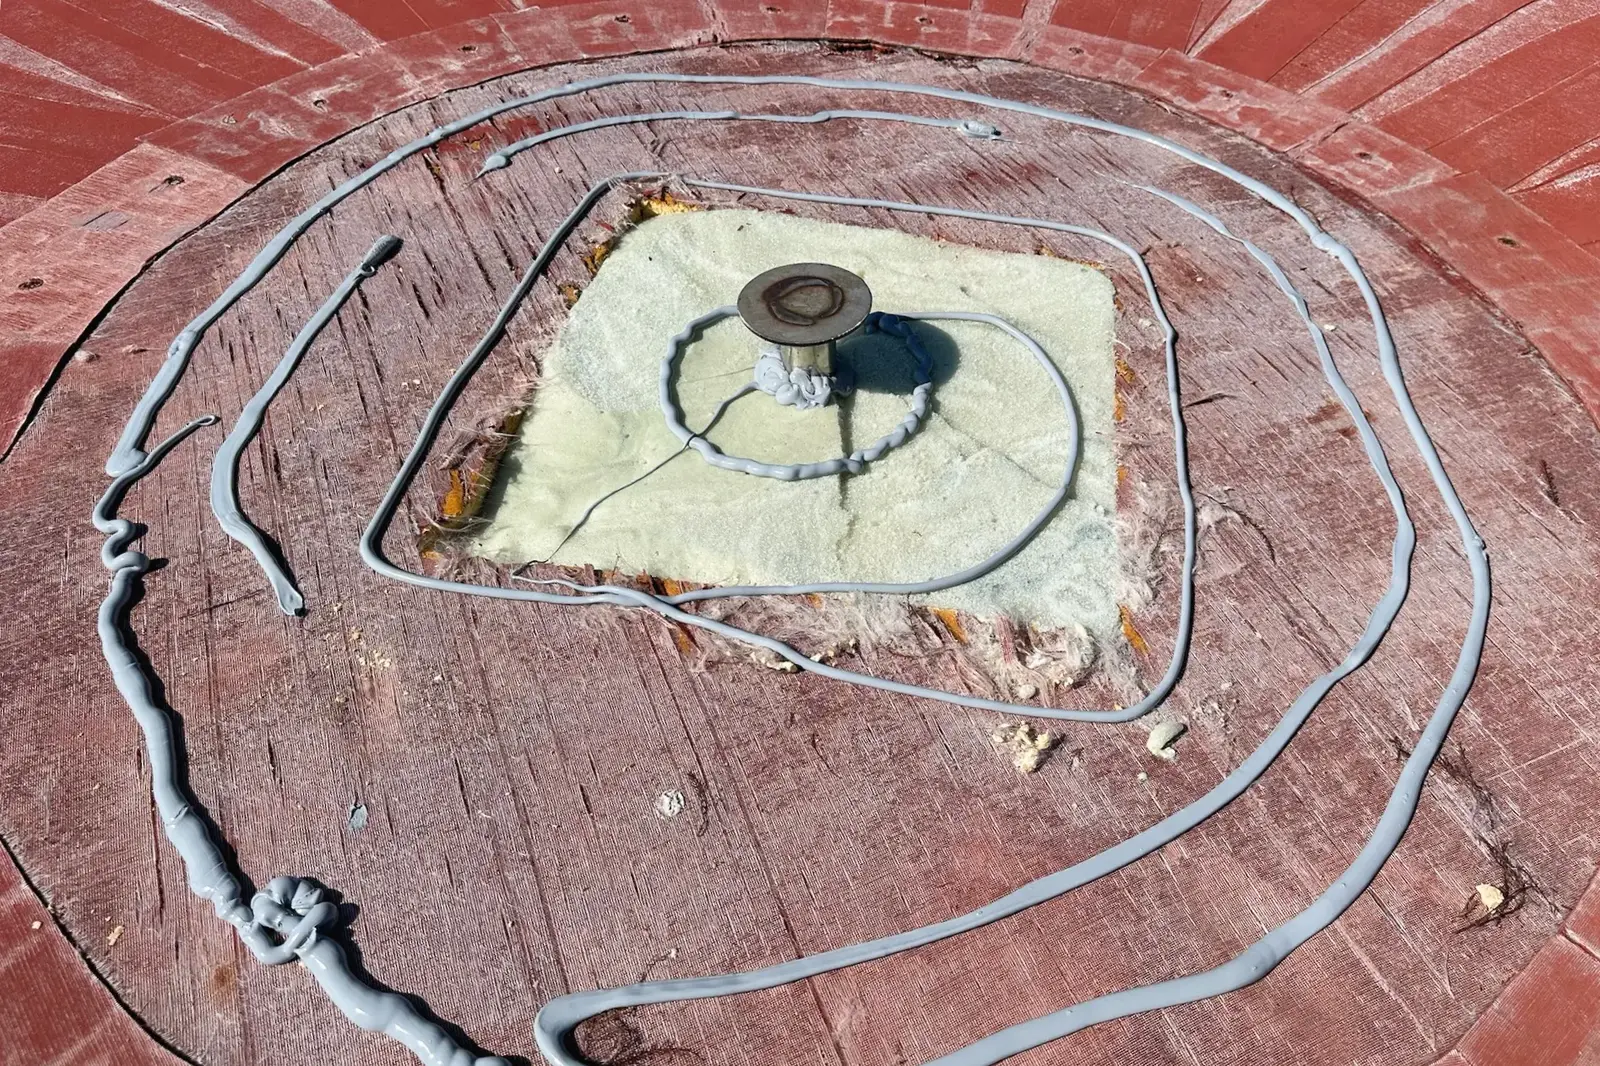
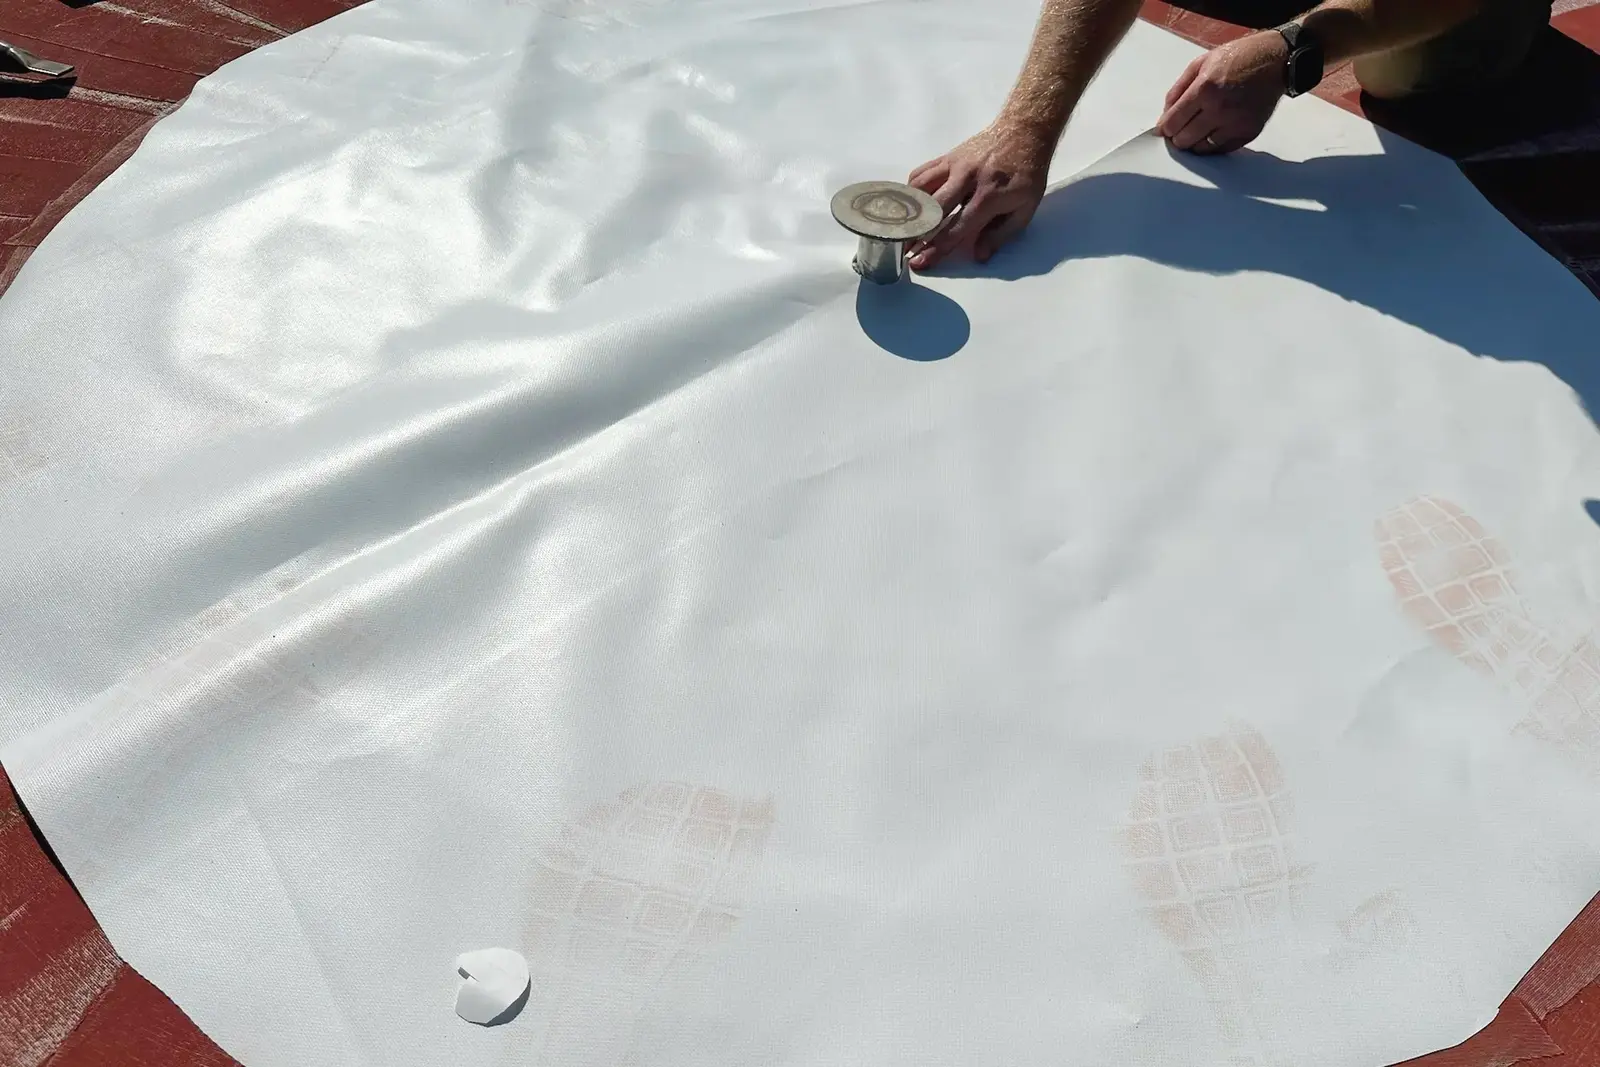
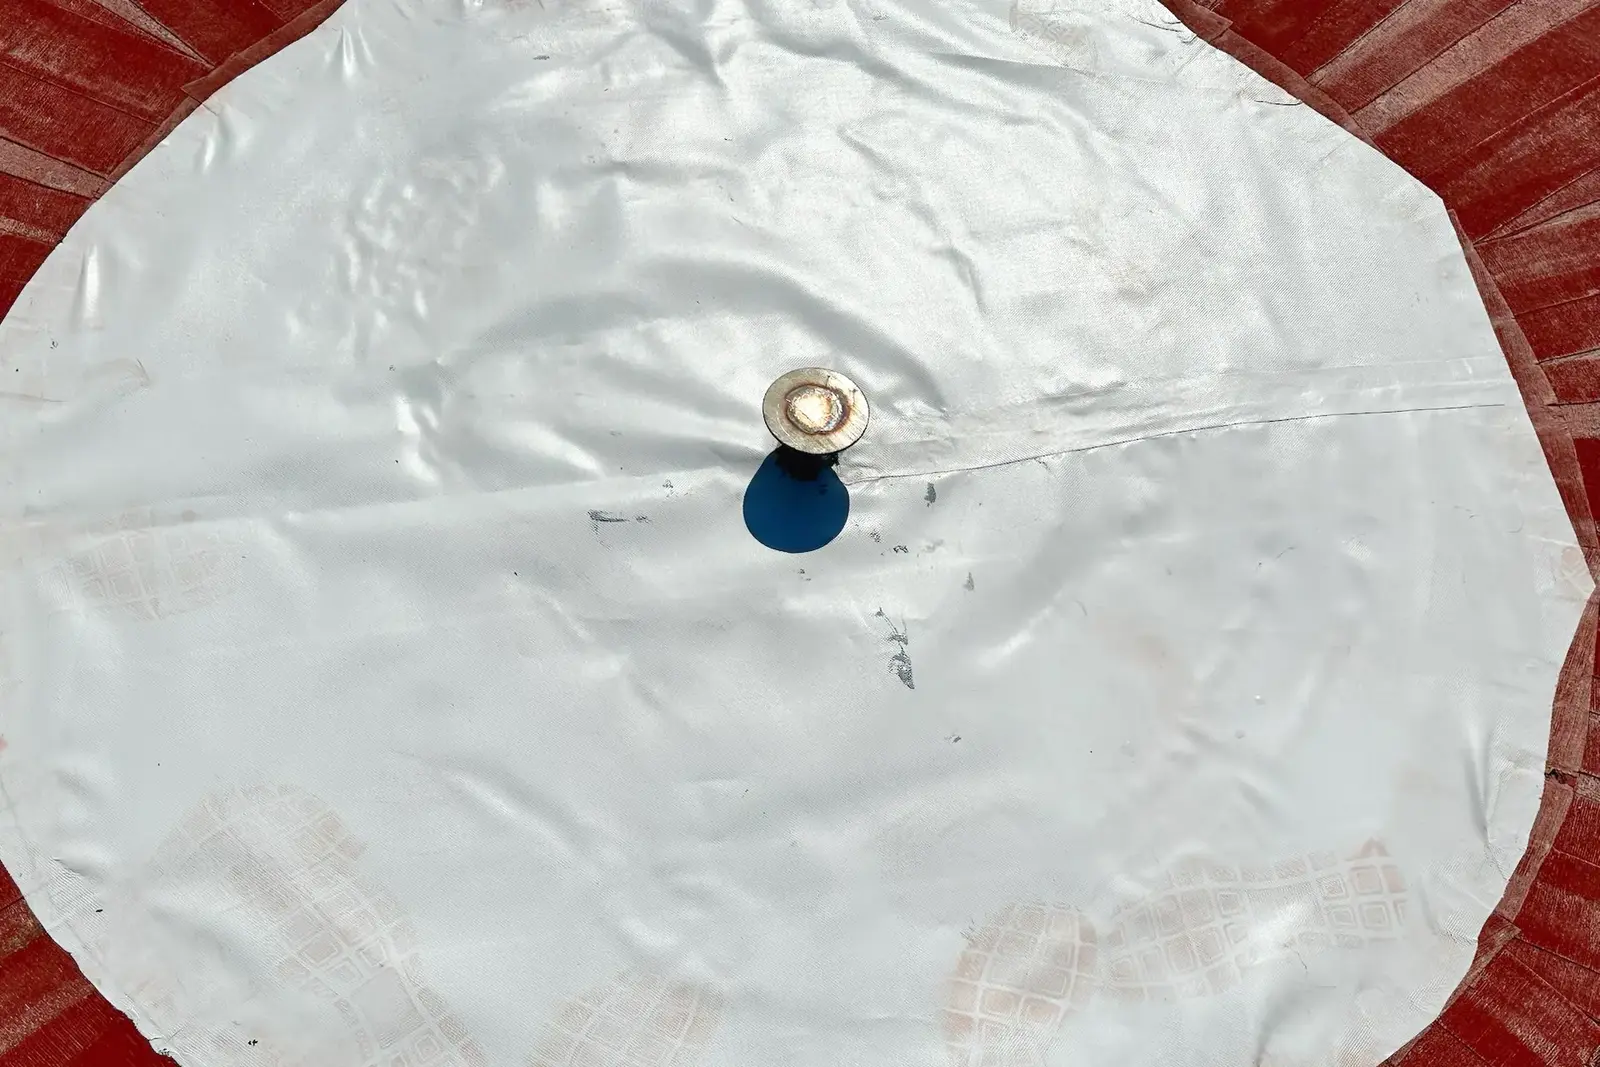
[Left] Step 8: Use a heat welder to attach a round patch of Airform membrane over the repaired area. Make sure the patch fully covers the square cutout and overlaps the existing membrane for a strong, watertight seal. Press firmly as you weld to ensure good adhesion all the way around. NOTE: This Airform was badly worn, so welding would not have worked well. We decided to glue down the center portion of the patch with NP1 urethane adhesive. [Right] Step 8 continued: Typically, a round area at the top of dome being retrofitted would be washed and prepped for a new piece of Airform fabric to be carefully heat-welded to the existing Airform. In this case, we put down a layer of NP1 and placed the fabric on top of it. Next, we will roll it from the center outwards so it’s nice and flat. Then, we’ll weld the edges to the dome.
